Land buying and selling forms a key part of Kenya’s real estate market. And a very important one for that matter. Consider this: without land, you cannot build, and if you cannot build, you cannot sell or rent out your property. That is why I think it is important for you to understand land and how it is transacted.
Sadly, there has been a shortfall in information regarding land, and the few people that educate you want to sell to you immediately. In today’s blog, I will be laying down the stages of a typical land sale transaction to let you know what to expect and when. Also to note is that some of the processes vary depending on the seller, but I will be explaining more on this.
1. Initial interest/nehotiations
The first stage involves expressing interest in the given piece of land. At this point as the buyer, you have scouted for various land options, and based on your budget and preference, you have arrived at a short list of options. Once you are ready to buy, you express your interest through your broker or directly. At this stage, there are no legalities, and you are seeking to see the seller’s terms.
2. Due diligence
After you have expressed interest, you now go to the due diligence phase. This is where you do the detective work to prevent losing your money & time on a deal. Your main aim here is to do a land search to confirm the ownership details of the land & uncover what we call encumbrances.
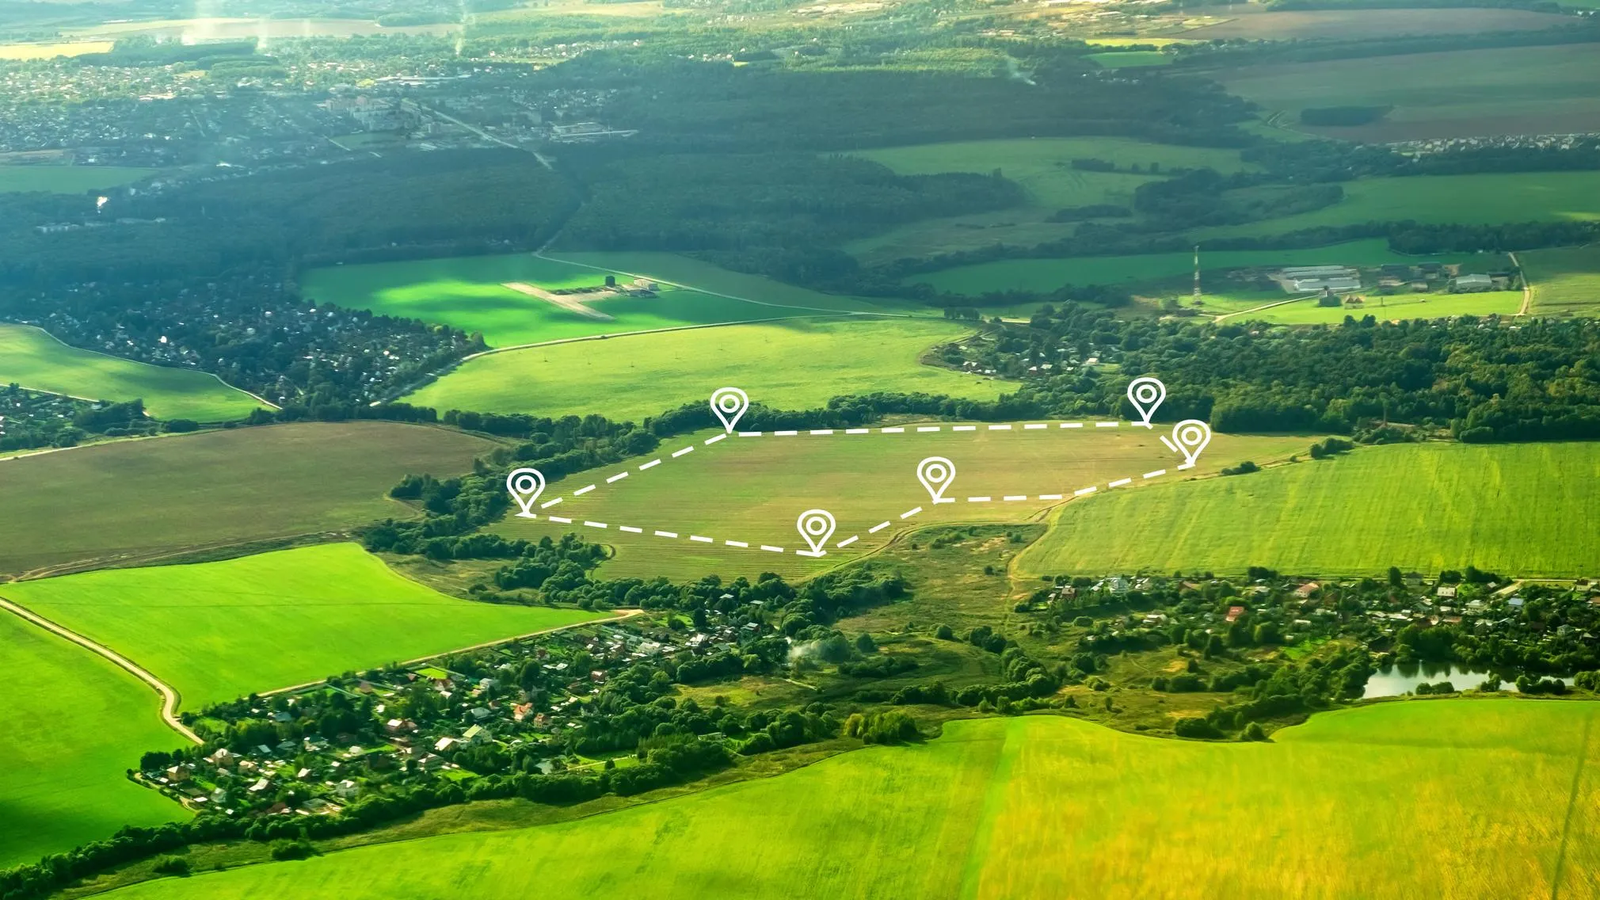
This is a list of any charges tied to the land if they exist, things like loans or caution due to ongoing cases. You should also push for the land size and position of beacons. Please confirm the land size physically by involving a surveyor or a professional. In addition to any zoning restrictions. I have seen people buy land in areas designated for pure residential, and their intention was to build an apartment block. Your checklist should include the following areas:
- Legal owner
- Land size and boundaries
- Any encumbrances (e.g., loans, disputes)
- Zoning or land use status
3. Reservation fee (optional)
The next step is paying the reservation fee. This part is optional, and it really depends on who your seller is. Most land-selling companies have this step included to ensure that only serious buyers are engaging them. Also, in most cases, the reservation fee is refundable and is usually converted into the purchase price when you proceed further.
Make sure that any fee committed to the company is accompanied by a written document or receipt. This is to safeguard your money in case you want the refund. Remember, if it is not on paper, it cannot be recognized in court.
4. Sign land agreement
Once you are done with the prior steps, you now move to the signing of the Land Sale Agreement. This is a document that outlines everything. From deposit amounts and installment plans to penalties for breaches. It is signed by both buyer and seller and is drafted by a licensed advocate. My only caution for you at this stage is that you should read the terms and conditions of the agreement carefully.
Most land companies have an internally written agreement, which, if you are not careful, might have some terms that are unfriendly to you as the buyer. Remember that this is business, and everyone is selfishly looking out for their interests, and so should you. If you don’t understand it, you can seek professional assistance. Some of the things on the land sale agreement include
- Land description
- Price of the Land
- Payment structure
- Timelines
- Obligations
- Dispute mechanisms
5. Payment of deposit
On signing the Sale Agreement, the next step is to pay the deposit as agreed on in the sale agreement. At this stage, you are now operating within a contract, and care should be taken not to breach the agreement on your end. Common deposits range from 10% to 30% of the purchase price.
If you are dealing with an independent seller, this is the point at which you should pay the full amount. This is because most individual sellers rarely agree on doing phased payments, and I do understand why. Most buyers might turn out to be a headache, especially with monthly payments. To reduce their risk, individual sellers will want all the cash up-front.
6. Payment of balance
During this stage, you are paying your remaining balance as agreed until completion. As I told you, any breaches in terms can lead to you losing your deposit, so ensure that you keep your word on this. If you have not completed your due diligence, please take this opportunity to do so. But I highly recommend finishing it before committing to pay.
7. Transfer process starts
Once you have completed your payment, you can now start the transfer process. This step changes the ownership details from the sellers to you as the buyer. Personal identification, such as names and KRA pins, is required. If you are doing the transfer with a land-buying company, then you don’t have to stress, as this step is handled internally.
However, if you are doing the transfer with an individual seller, you will have to go to the original land company offices to make the transfer. As the buyer, you are the one to pay for the transfer unless agreed otherwise.
8. Handover of the plot
After settling the full payment and legal transfer, the land title deed is transferred to the buyer. Also insist on getting other documents associated with the land. Things like utility payments or rate payment receipts.